
Alpharetta Wood Flooring handles hardwood floor staining in Alpharetta, GA and has been matching colors to floors and houses for 20+ years, serving surrounding cities including Roswell, Milton, Peachtree Corners, Norcross and Sandy Springs. We stain newly installed floors, change the color of existing ones, and match new boards to old during repairs.
The color on a stain can is only a starting point. The species, the way the floor was sanded, whether the grain was opened with water, and the light in your rooms all change the result. We lay stain samples on your own floor after sanding, in your own light, and you choose from those rather than from a brochure.
Staining is also where preparation shows most. A floor sanded carelessly will look blotchy and scratched once the color goes on, even if it looked fine bare. That is why the sanding sequence and the prep before staining take as much of our attention as the stain itself.
How Stain Looks on Different Species
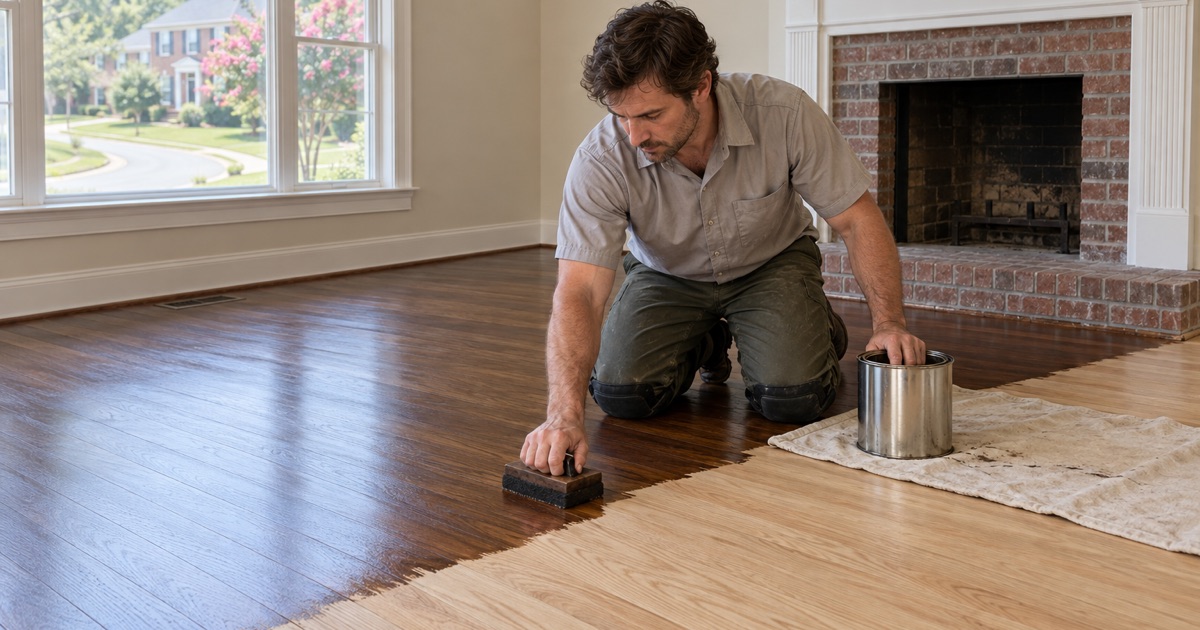
Red Oak
Red oak has an open, pronounced grain and a pinkish undertone that shows through lighter stains. It takes stain readily and evenly, which is why it is the most common floor in the area and the easiest to color. Gray stains can turn slightly purple or green on red oak, so we always test them first.
Many red oak floors from the 1990s and 2000s were finished in golden tones that have since turned orange. A full sanding removes that color, and a neutral or brown stain can take the floor somewhere very different.
White Oak
White oak has a tighter grain and a cooler, olive-brown tone. It suits natural, gray and pale finishes that look off on red oak, and it takes darker browns well too. Its grain shows less contrast under stain, giving a calmer look. White oak is also a common choice for wide plank floors, where its quieter grain lets the width of the boards carry the look instead of busy patterning.
Maple, Pine and Other Species
Maple and pine absorb stain unevenly and can turn blotchy, especially with darker colors. Heart pine has resin and color of its own that stain competes with. Hickory has strong contrast between light and dark wood that stain exaggerates. For these, we often recommend a clear finish, a conditioner or a light stain, and we always test first.
Preparing a Floor for Stain
The Sanding Sequence
Stain highlights every scratch the sander leaves behind. We sand through a grit sequence, each grit removing the scratches of the last, and finish with a buffer or orbital sander to blend the drum sander and edger marks. That final blending pass is what prevents visible swirls and borders around the room.
The edges of the room, where the edger works, are the most common place for stain to go darker or show marks. We give those areas extra passes so the color at the wall matches the center of the room.
Water Popping for Depth
Water popping wets the sanded floor so the grain opens and absorbs more stain. It produces a deeper, more even color, which is especially helpful with dark stains on oak. After popping, the floor must dry fully before any stain goes on, or the color will be uneven.
Filling and Repairs Before Stain
Gaps, nail holes and small gouges are filled before staining, with filler chosen to match the stained color, not the bare wood. Damaged boards are replaced before the final sanding so they take the stain with the rest of the floor. Repairs done after staining rarely blend in.
Before stain goes on, the floor is vacuumed and tacked so no sanding dust is left in the grain. Dust trapped under stain shows as a gritty, dull patch once the finish is applied, and it is one of the easiest defects to prevent.
Choosing the Color
Stain Samples on Your Floor
After the final sanding pass, we apply several stain samples to your floor, often in the rooms with the strongest and weakest light. You see them in daylight and lamplight, next to your cabinets and trim. If two colors are close, we lay them side by side at full board width.
It helps to think about what will sit on the floor. Rugs, furniture, cabinets and wall colors all change how a stain reads, and a color that looks perfect in an empty room can feel heavy once a dark sofa and rug are back in place.
Custom Mixes
Sometimes the right color sits between two standard stains. Mixing stains lets us warm up a gray, cool down a brown or soften a very dark color. We record the mix so it can be matched in the future for repairs or stairs.
Matching Existing Floors and Stairs
When new flooring or replaced boards need to match an existing floor, we test mixes on scrap boards of the same species until the color lines up. Stairs and floors are stained with the same mix, and we check both in place, because the light on a staircase is often very different from the room around it.
Finish Over Stain
Protecting the Color
Stain adds color but no protection. The finish coats over it provide wear resistance and sheen. Waterborne polyurethane keeps stain colors truer, while oil-modified polyurethane adds a warm amber tone that deepens over the years. We choose clear finishes by their federal VOC category, and we explain how each option will change the stain color you just approved.
Sheen and How Color Reads
The same stain looks darker and richer under a higher sheen and softer under matte. Most households choose satin or matte, which hide scratches and dust. We show the sheen on a sample board so you see the final look before the first finish coat goes on.
- 20+ Years on Wood Floors
- Moisture Readings Before Sanding
- Stairs Quoted Tread by Tread