
Alpharetta Wood Flooring has handled wood floor refinishing in Alpharetta, GA for 20+ years, serving surrounding cities including Roswell, Milton, Peachtree Corners, Norcross and Sandy Springs. We sand hardwood back to bare wood, repair what needs repairing, and build a new finish that suits the way the house is used. Most of the floors we refinish are site-finished oak that has simply worn through in the busy rooms.
Refinishing is almost always cheaper and less disruptive than replacement, and a sound oak floor can usually be sanded several times over its life. The question is never just whether a floor can be refinished, but how much wood is left, what caused the damage, and which finish will hold up in that particular household. We answer those three things before a drum sander comes off the trailer.
If your floor has cupped, turned black in places or sounds hollow, some of that work is repair rather than refinishing, and we cover it as part of the same visit. The estimate lists sanding, repairs, stain and finish as separate lines so you can see where the money goes.
What Sanding to Bare Wood Actually Removes
Worn Traffic Lanes and Gray Wood
When a kitchen path or hallway turns gray, the finish has worn away and the wood itself is soaking up dirt and moisture. A full sanding cuts below that gray layer and exposes clean wood again. It is the only fix once the finish is gone, because a recoat would just seal the discoloration in.
Traffic lanes also tell us how the room is used. A family that walks the same route from garage to kitchen dozens of times a day needs a harder finish and a lower sheen in that area than in a formal dining room.
Scratches, Dents and Sun Fade
Surface scratches disappear with the old finish, and shallow dents often sand out or can be raised with steam before sanding. Sun fade from a south-facing window evens out once fresh wood is exposed across the whole room. Deep gouges that go past a normal sanding are filled to match or, where they are wide, the board is replaced.
Old Stain and Ambered Finish
Oil-modified polyurethane darkens toward amber as it ages, which is why so many oak floors from the 1990s and 2000s look orange today. Sanding removes both that finish and the stain beneath it, so the floor can go lighter, darker or back to a natural tone. Nothing about the old color carries over once the wood is bare.
Checking the Floor Before We Sand It
Wood Left Above the Tongue
A solid hardwood board is only sandable down to the top of its tongue; past that point the sander starts exposing the joint and the nails. We lift a vent cover or look at a threshold to measure how much wood remains. On a floor already sanded two or three times, that measurement decides whether we do a full sanding, a lighter pass, or recommend a screen and recoat instead.
In Alpharetta, 34.6 percent of homes date from the 1990s and 35.6 percent from 2000 or later, so many floors we see are on their first or second refinishing. Earlier sandings are not always gentle, which is why we measure rather than assume.
Moisture and Cupping
Sanding a cupped floor while the boards are still wet flattens the raised edges, and once the wood dries those edges sit lower than the middle, leaving a crowned floor. We take moisture meter readings across the boards and check the crawlspace or supply lines below before scheduling. If the numbers are high, the moisture problem gets fixed and the floor gets time to settle first.
Pet Stains, Termite Damage and Loose Boards
Dark pet urine stains and wood damaged by subterranean termites do not sand out, because the damage runs through the board. We mark those boards, cut them out and weave in matching stock before sanding, so the repairs are sanded and finished with the rest of the floor. Loose or squeaking boards get refastened at the same time.
Choosing Stain, Finish and Sheen
Stain Samples on Your Own Floor
The same stain can look completely different on red oak and white oak, and different again under your windows at dusk. After the final sanding pass, we lay out several stain samples on your floor and leave them for you to look at in daylight and lamplight. You choose from your own floor, not a showroom board.
If you are torn between two colors, we can lay them side by side at full width across a board. That comparison settles most decisions faster than any brochure.
Waterborne, Oil-Modified or Hardwax Oil Finishes
Waterborne polyurethane stays clear, dries fast and has a mild odor, which suits lighter floors and households that want to stay home. Oil-modified polyurethane gives a warmer amber tone and a slower cure. Hardwax oil soaks into the wood and can be spot-repaired, but it needs more regular maintenance than a film finish.
We choose clear finishes by the VOC category the federal rule, 40 CFR 59 Subpart D, actually assigns to them, rather than by the floor-coating number meant for opaque coatings. That keeps the product choice honest.
Sheen Level and How It Wears
Matte and satin sheens hide scratches, dust and pet traffic better than semi-gloss or gloss, which show every mark in low-angled light. Most households choose satin or matte for living areas. A higher sheen can suit a formal room that sees little traffic.
Our Step-by-Step Wood Floor Refinishing Process
Step 1: Inspection and Readings
We walk the floor, take moisture readings, measure the wood above the tongue and mark boards that need replacement. You get a written estimate that separates sanding, repairs, stain and finish.
Step 2: Repairs and Preparation
Damaged boards are replaced, loose boards refastened and the rooms masked off. Quarter round and shoe molding are removed where needed so we can sand right to the wall.
Step 3: Dustless Sanding Through the Grits
We sand with a drum sander and edger through a grit sequence, then blend the whole floor with a buffer or orbital sander. Each grit removes the scratches from the one before it, which is what makes stain go on evenly.
Step 4: Stain Samples and Color
We water pop the floor if the stain needs to go darker or more even, lay samples, and apply the color you pick. The stain dries fully before any finish goes on.
Step 5: Finish Coats and Cure
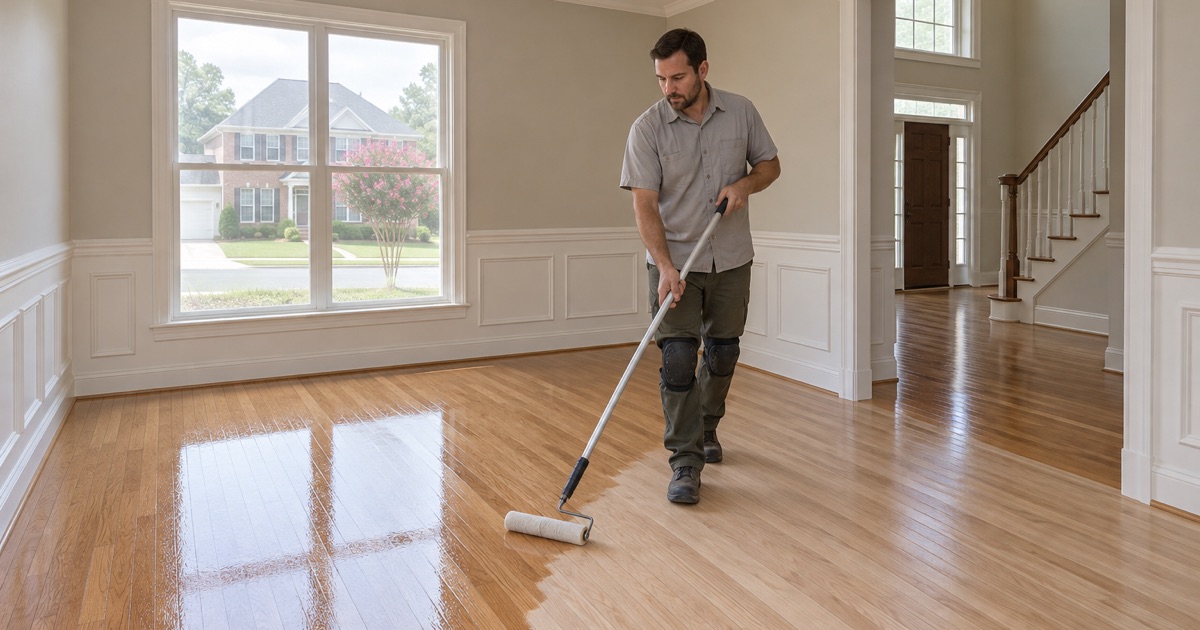
We apply the finish coats with light abrasion between them, then leave written care and cure instructions. Trim goes back on once the floor can take it.
- 20+ Years on Wood Floors
- Moisture Readings Before Sanding
- Stairs Quoted Tread by Tread